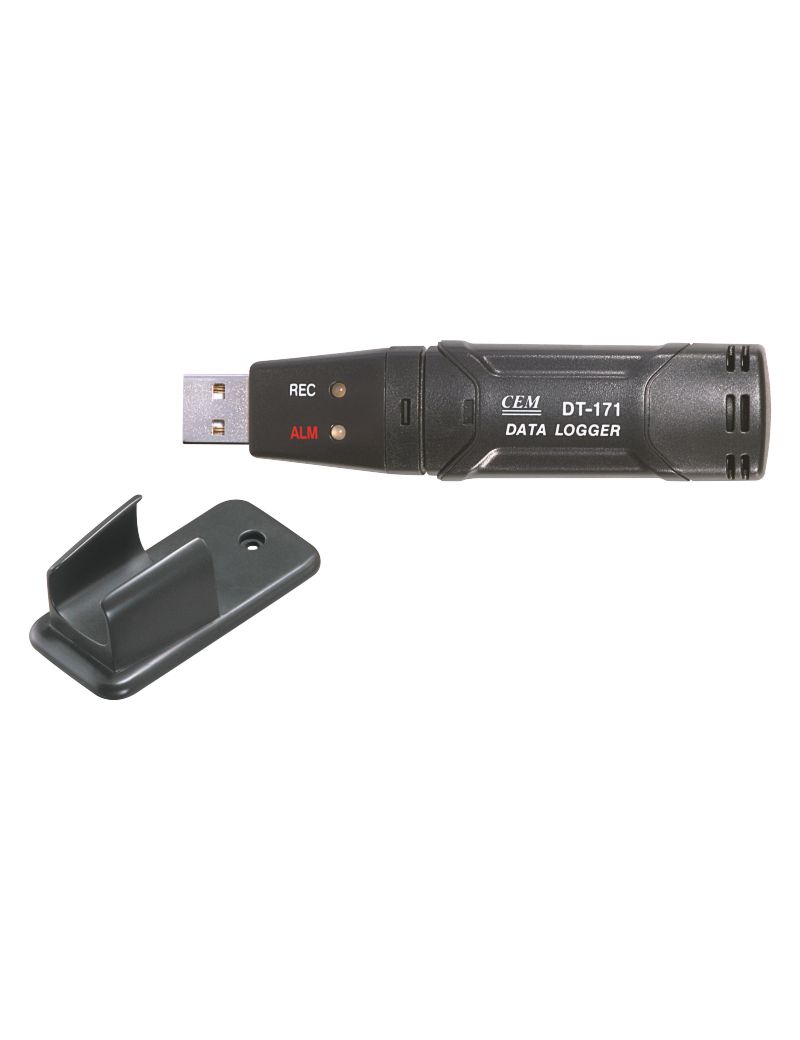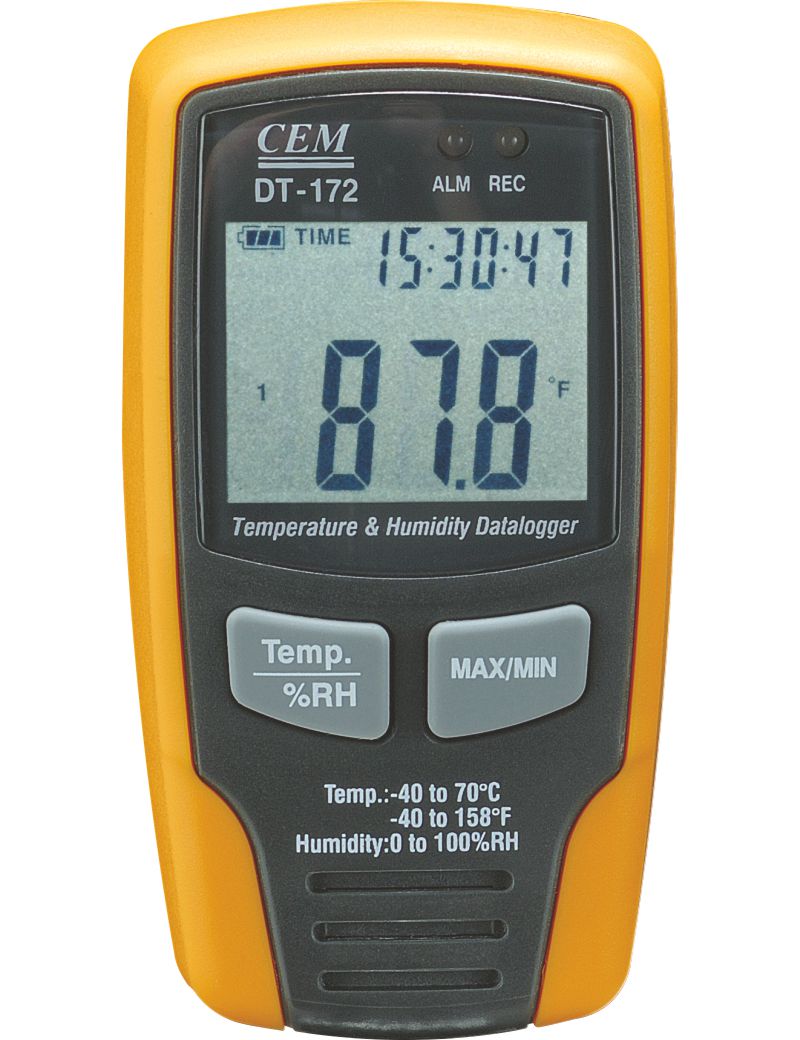
The CEM DT-172 is a smart data logger with internal sensors for both humidity and temperature. All values are shown in the display, that is present, max., min. and time. The logger is perfect for many different applications like office environment or temperature controlled transportation or clean rooms. The loggings are stamped with time and date and the large memory enables logging of 16,000 data sets.
In the software alarms limits can be programmed and the loggings are easily transferred and printed as graph or list.
The CEM DT-172 is delivered ready to use with battery, wall mount, software, USB cable and manual.
Here are the solutions to the most frequent problems users face right now:
The user might be looking for the latest or most current ("hot off the presses") driver update. In this context, they are searching for a freshly released driver version that solves a bug.
Xprinter XP-K200L Driver for Windows 10: The Complete Installation & Troubleshooting Guide
Installation Steps on Windows 10
Test printing:
Before diving into software installation, ensure your operating system maps correctly to the hardware specifications of the device:
from the manufacturer and configure it for the appropriate connection interface (typically USB)
is engineered with advanced motor technology and real-time status monitoring to prevent printhead overheating. Below are its core technical attributes: Specification Direct Thermal (No ink or toner required) Print Speed Up to 200 mm/s Resolution Paper Width 79.5 ± 0.5 mm (Standard K80 Paper) Print Width 72 mm (Adjustable via commands) Interface Options USB, LAN (Ethernet), or Serial (Depending on variant) Auto-Cutter Partial cut, rated up to 1.5 million cuts Emulation ESC/POS standard command set Step 1: Downloading the Driver Files
: Click "Install Now." Once finished, you can find the device under "Printers & Scanners" in your Windows settings and print a test page to verify the connection. Key Specifications Speed : Up to 200 mm/s. Connectivity : Dual interface with USB and LAN (RJ-45).
Choose the connection type—most users will select USB .
Look for the Xprinter POS Printer Driver Package (v7.77 or newer) or the native 80mm Series Windows Driver .
Right-click the printer > Printer Properties > Device Settings (or "Printer Settings"). Find the "Cash Drawer" or "Cut" setting and set it to Cut After Printing .